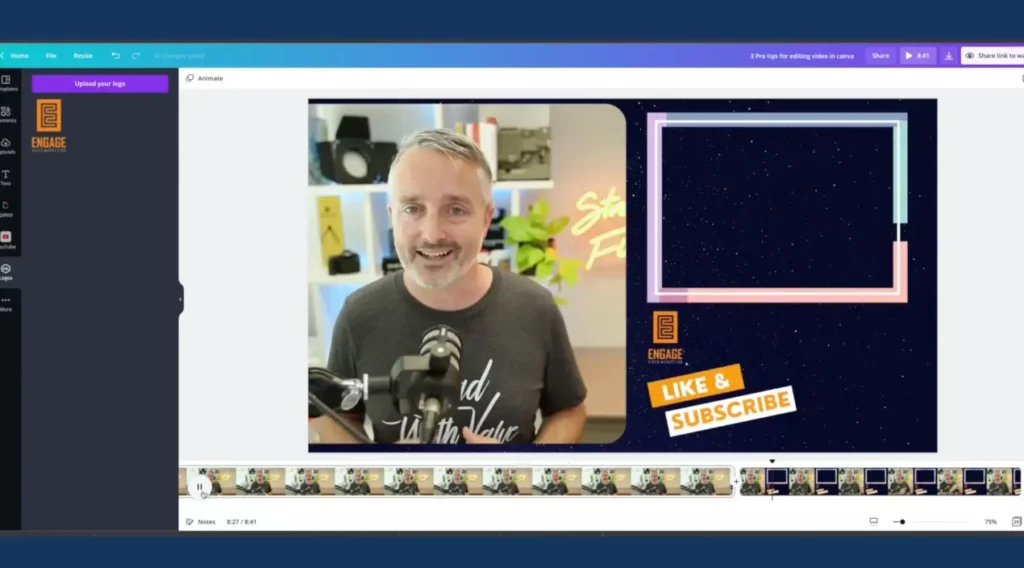
With the recent introduction of Canva’s in-built video editor, the world for DIY video marketers has really opened up because without any knowledge of pro editing apps like Final Cut Pro, DaVinci Resolve, or Premier Pro, we can now do so much just within Canva to actually get our videos edited and up on social media or YouTube or wherever you are publishing video.
In this article, I’m sharing two quick tips which is actually an excerpt of my full video walkthrough about creating a video in the Canva video editor. I’m going to share with you some tips that I’ve picked up along the way that can help really elevate the results that you’re getting with the Canva video editor.
How to Add Animated Titles in Canva
Here we are in the Canva editor and I have my project already partly edited. I’ve actually been working on this one for about an hour so far. So, for the purpose of this tutorial, I want to do the final touches for you just to share with you a few tips on how we finish off this edit. If you’re not familiar with the Canva interface, then I encourage you to dive a bit deeper before you get into this tutorial. It’s going to assume a certain level of knowledge.
Now, what you’ll see here is I’ve already uploaded and added a number of videos. These videos were recorded within either the Canva record yourself function, or some of them were recorded externally to Canva and then uploaded as video files.

How to Add an Animated YouTube Like and Subscribe and End Card in Canva
Follow along on the video below which will open at the 17:33 minute mark of the full video.

So, there you have it. I hope those two quick tips was useful to you and will help you get started on adding important elements in your videos.
You can watch the full walkthrough of completing that YouTube video edit entirely in Canva HERE


